How to paint a book nook?
To Create a Realistic Book Nook, Paint Wooden Elements Carefully and Precisely
Wooden book nooks have been increasingly popular in recent years, whether for school projects, model displays, or creative hobbies. Painting a wooden book nook for a realistic effect requires specific skills and techniques. However, by following the steps outlined in this guide, you can achieve a professional result.
Surface Preparation
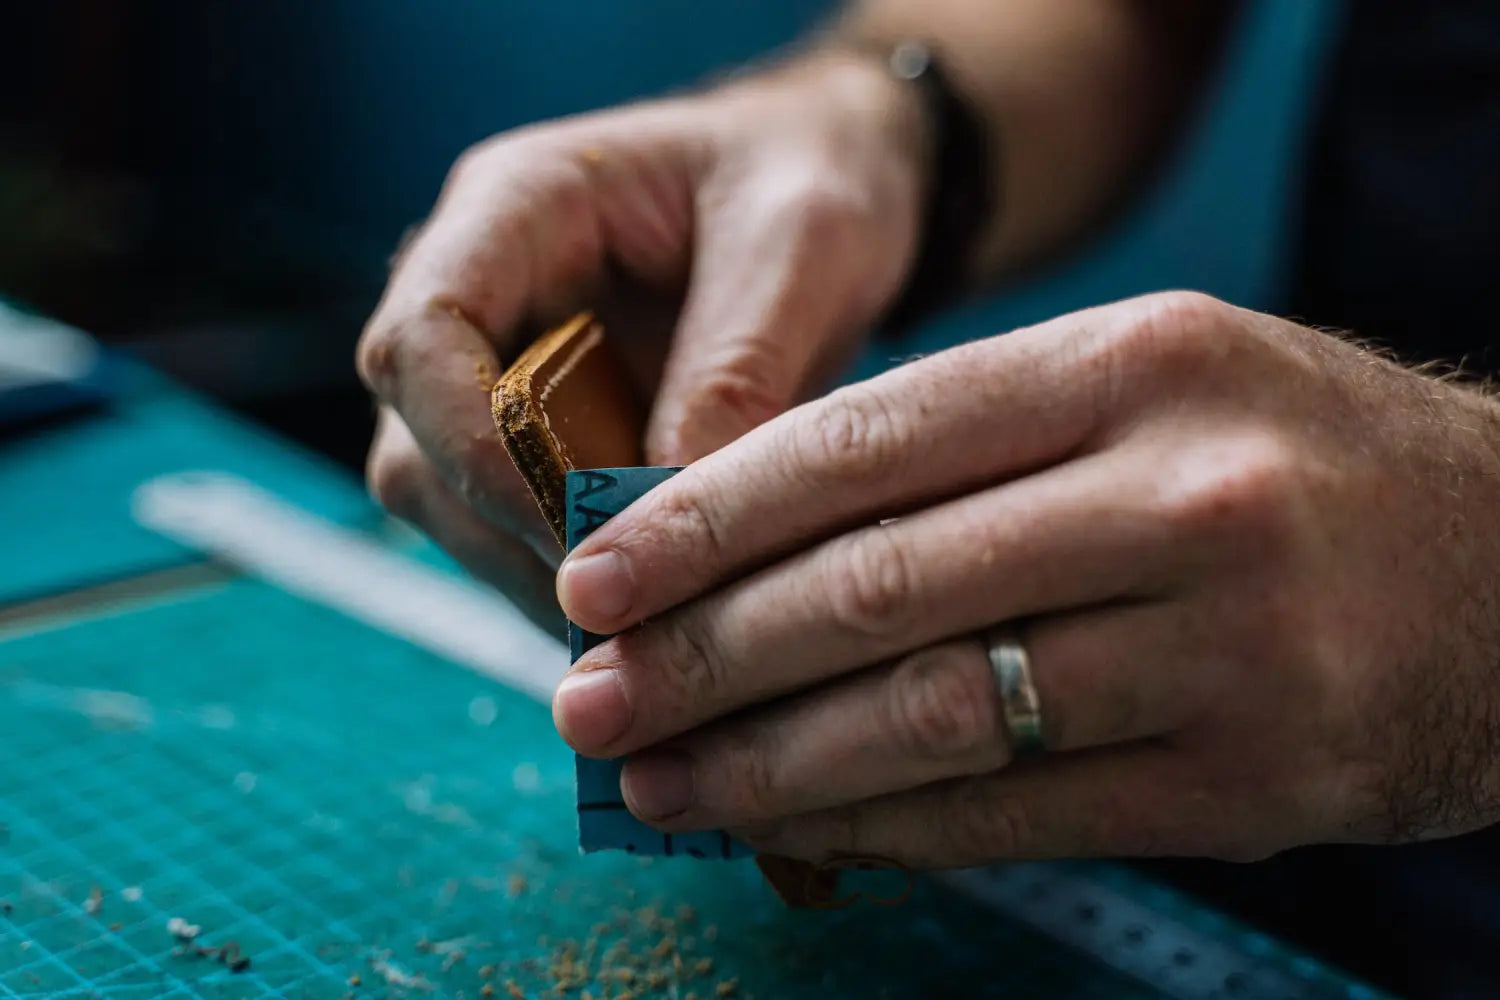
Before you start painting your book nook, it's crucial to carefully prepare the wooden surface. Begin by removing all dust and dirt particles with a clean, dry cloth. If the wooden surface is rough or uneven, use sandpaper to smooth and level the surface. Available in our kits.
Make sure there are no wet or moldy areas on the wood. For even more professional results, you can also use a wood primer before painting. This will protect the wood from future coloring and ensure better paint adhesion.

Primer Application (Optional)
Once the wooden surface is clean and smooth, it's time to apply a primer. This will protect the wood from future colors and ensure better paint adhesion. Use a primer specifically designed for wooden surfaces, and apply it following the manufacturer's instructions. Allow it to dry completely before moving to the next step.
Color Selection
For a realistic effect, it's essential to choose appropriate colors for your book nook. Use colors that accurately reflect reality, taking into account color shades and contrasts. You can use acrylic or oil paints for your project. It is also important to choose colors that suit the theme of your book nook for an even more realistic effect.
Painting
Once you've chosen the colors, it's time to start painting. Use quality brushes to apply the paint, making sure to follow the manufacturer's instructions. Start with the largest and most visible areas, then work on finer details. Make sure to allow the paint to dry completely between coats to avoid drips and splatters.
For even more professional results, you can also use painting techniques like the sponge method or brush strokes to add extra textures and shades.
Adding Details
Once the base painting is done, it's time to add the final details to give your book nook a realistic effect. Use fine brushes to add shadows and lights, textures, and color shades.
You can also use tools like pencils and markers to add extra details like windows, doors, trees, and other elements of your book nook. You can also use materials like sand, moss, grass, and leaves to make your book nook even more realistic.
Finishing Up
Once all details have been added, it's time to finalize your book nook. You can use a lacquer or wax to protect the paint and give your book nook a glossy finish. You can also add elements like characters or cars to bring your book nook to life.
Conclusion
Painting a wooden book nook for a realistic effect is a detailed process that requires specific skills and techniques. By following the steps outlined in this guide, you'll be able to create a realistic, professional-looking book nook that is not only aesthetically pleasing but also convincing.
It's important not to rush and take the time to add details and textures to bring your book nook to life. It's also essential to remember to protect the paint and give your book nook a glossy finish for a professional presentation.


