Beyond the Bookshelf: Craft a Stunning DIY Wall Clock
Every great wall deserves a focal point, and nothing combines art and function quite like a beautiful clock. For those looking to find a masterpiece ready to hang, we highly recommend exploring the incredible collection of the best wall clocks at casaclock.com. But for the crafters ready to embark on a creative journey and build their own story in time, you've come to the right place.
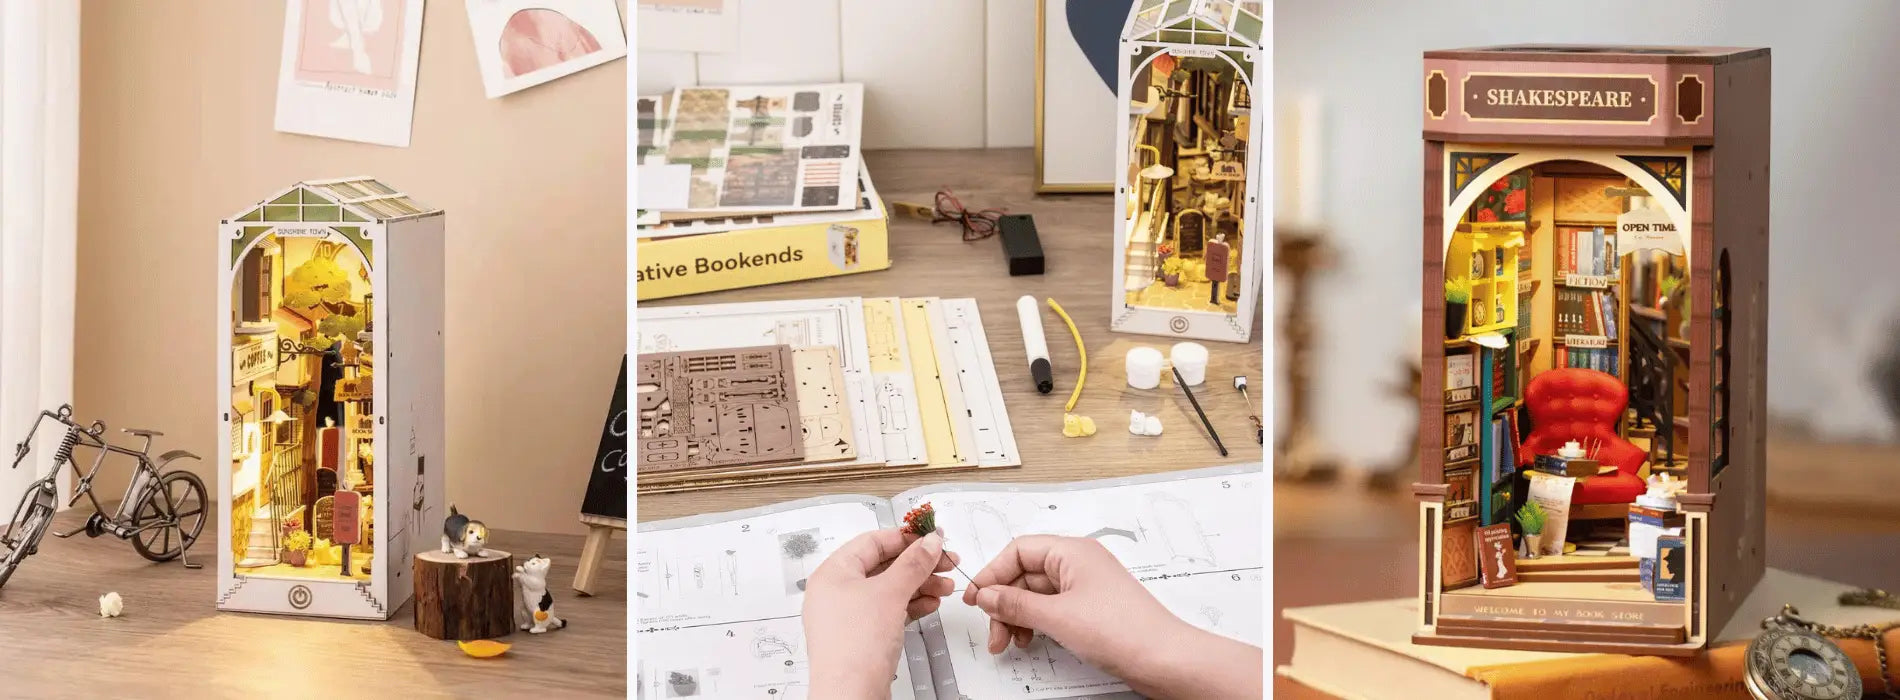
There’s a special kind of magic in creating something with your own two hands. It's the same immersive feeling you get when you perfectly place the final miniature book on a shelf in our DIY Book Nooks a sense of pride, accomplishment, and pure creative joy that transforms simple materials into a portal to another world. This connection between our hands and our hearts is what crafting is all about.
But why should that magic be confined to the bookshelf? You can bring that same handmade charm and intricate storytelling to your walls with a stunning DIY wall clock. A wall clock is more than just a functional object for telling time. It's a centerpiece, a silent witness to our daily lives, and a reflection of our personality. Creating your own allows you to design a timepiece that is perfectly in tune with your home's unique narrative. Ready to turn back the hands of conventional decor and create something truly extraordinary? Let’s dive deep into the wonderful world of DIY wall clocks.
The Soul of a Handmade Clock: Why Bother with DIY?
In a world of mass-produced goods, a handmade item is an act of rebellion. It tells a story of care, time, and creativity. If you love the meticulous process of building miniature worlds, you'll find that making a clock is a similarly rewarding endeavor.
-
Ultimate Personalization: Store-bought clocks are designed for the masses. Your home is not. A DIY project gives you complete control over every element—the size, the shape, the materials, the colors, and the style. You can create a clock that perfectly matches your room’s color scheme, embodies your favorite hobby (like reading!), or even incorporates personal mementos into its design. It becomes an extension of your identity.
-
The Meditative Process: Like assembling a 3D wooden puzzle or carefully painting a miniature scene, the act of creating a clock is a form of active meditation. It requires focus and allows you to disconnect from the digital noise of daily life. The process of planning, measuring, painting, and assembling is a calming ritual that culminates in a beautiful, functional object.
-
A Truly Unique Conversation Starter: Imagine a guest complimenting the stunning clock on your wall. The pride in saying, "Thank you, I made it myself," is immeasurable. A handmade clock is a piece of functional art that will inevitably draw attention and admiration, allowing you to share the story of its creation.
-
Sustainable and Meaningful: DIY allows you to upcycle and repurpose materials. That old hardcover book destined for the donation bin, a beautiful slice of wood from a fallen tree branch, or leftover tiles from a renovation can all be given a new, purposeful life. You create less waste and end up with an object that has a rich history and a small environmental footprint.
A Gallery of Inspiration: DIY Clock Ideas for the Creative Soul
Let's get those creative gears turning! Here are some detailed ideas designed to inspire crafters who appreciate artistry and intricate detail.
1. The "Book Lover's" Clock A perfect project for the Book Nook Store community!
-
The Concept: An elegant clock crafted from a beautiful, old hardcover book.
-
Materials: A thick hardcover book (at least 2 inches deep), a craft knife, PVA glue, a clock mechanism, and decorative numbers.
-
The Process: Choose a book with a cover you love. Open it to the first page and use a ruler to draw a rectangle about 1.5 inches in from the edges. Carefully use the craft knife to cut through the pages, layer by layer, hollowing out the book. Once deep enough, brush the insides of the cutout and the edges of the pages with glue to secure them. Drill a hole through the center of the front cover for the clock mechanism. For markers, consider using small brass Roman numerals, elegant Scrabble tiles, or even miniature, handmade book charms.
2. The Layered Wood "Diorama" Clock This project channels the 3D artistry of our most popular kits.
-
The Concept: A clock face with a stunning, three-dimensional scene created from layered wood.
-
Materials: Several sheets of thin plywood or balsa wood, a scroll saw or laser cutter access, wood stains or acrylic paints, wood glue, and a clock mechanism with a long shaft.
-
The Process: Sketch a scenic design with a foreground, middle ground, and background (e.g., mountains, a forest treeline, and a sky). Cut these shapes from separate sheets of wood. Stain or paint each layer to create depth—darker in the foreground, lighter in the background. Once dry, carefully glue the layers together, leaving a flat space in the center for the clock hands. This creates a stunning diorama effect that adds incredible depth and character.
3. The "Pressed Flower & Resin" Botanical Clock Capture the timeless beauty of nature.
-
The Concept: Real pressed flowers and leaves are suspended in crystal-clear epoxy resin.
-
Materials: A round silicone mold, two-part epoxy resin, a collection of pressed and dried flowers/leaves, a clock mechanism.
-
The Process: Arrange your pressed flowers face-down in the silicone mold. Prepare your resin according to the manufacturer's instructions, being careful to minimize bubbles. Pour a thin layer over the flowers to anchor them. Once that's slightly set, pour the remaining resin to fill the mold. After it has fully cured (which can take 24-72 hours), de-mold your clock face, drill a center hole, and install the hardware. The result is a breathtaking, glossy timepiece that brings a piece of the garden indoors.
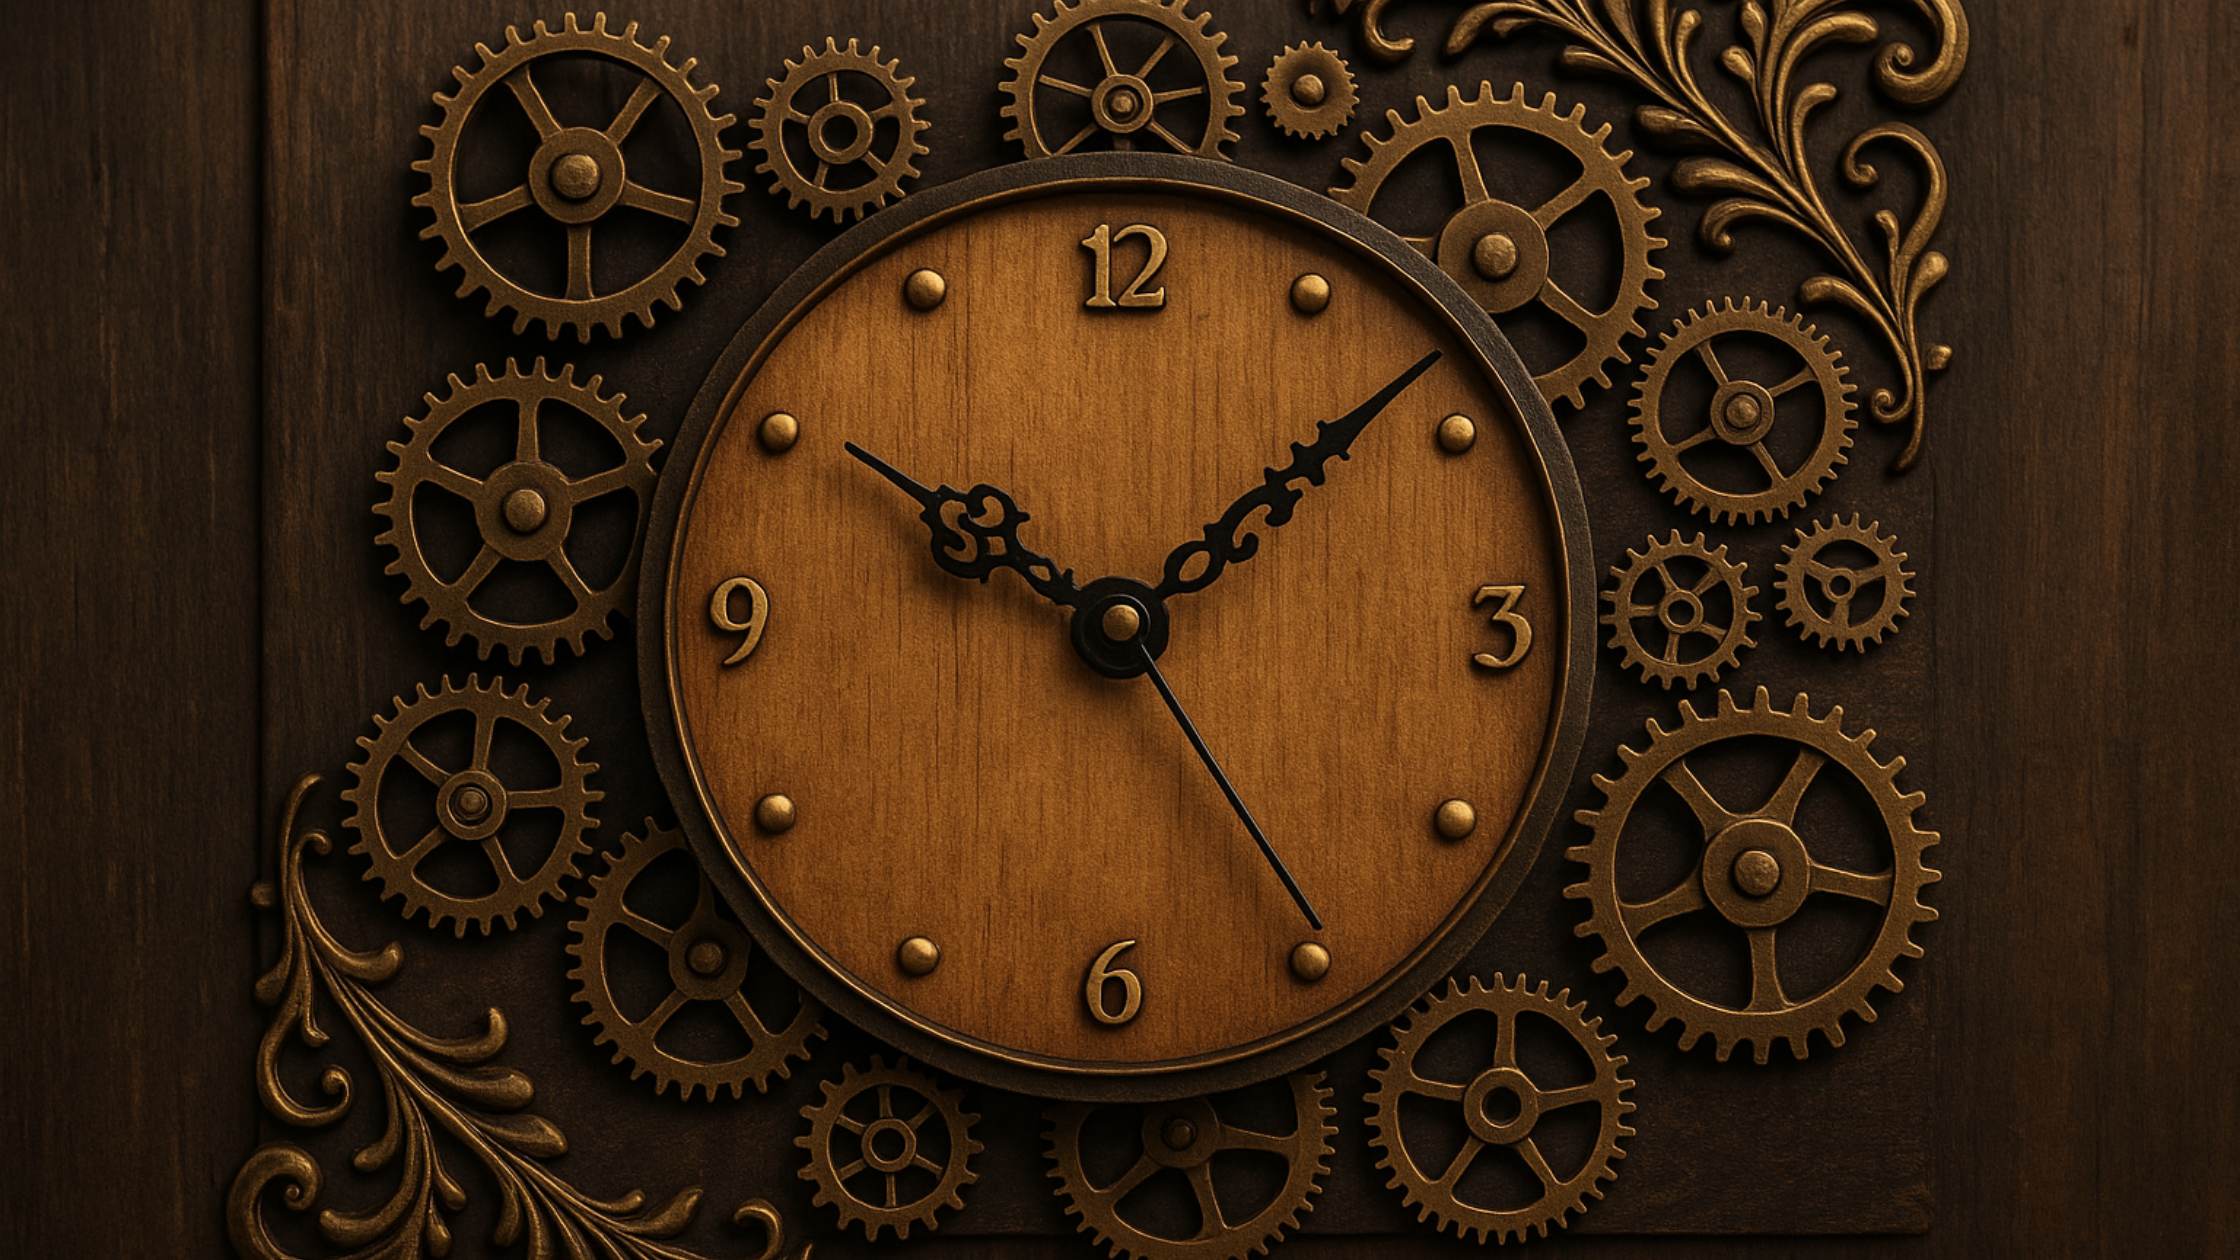
4. The "Steampunk Cogsworth" Clock For those who love intricate gears and Victorian fantasy.
-
The Concept: A clock that looks like a complex, imaginative machine.
-
Materials: A round wooden base, various decorative gears and cogs (from craft stores or old electronics), metallic spray paints (bronze, copper, gold), and strong adhesive like E6000.
-
The Process: Paint your wooden base a dark, metallic color. Arrange the gears and cogs in an aesthetically pleasing, overlapping pattern, leaving the center clear. Use your metallic paints to create an aged, multi-tonal effect on the gears. Once you're happy with the layout, glue everything down securely. Add some vintage-style clock hands to complete the fantastical look.
The Clockmaker's Toolkit: A Detailed Technical Guide
A great idea is only as good as its execution. Here’s what you need to know to ensure a successful project.
Part A: Choosing the Perfect Clock Mechanism This is the heart of your clock and the most crucial component.
-
Shaft Length: The shaft is the threaded post that pokes through your clock face. You must measure the thickness of your clock face material. The threaded part of the shaft needs to be slightly longer than this thickness so you can attach the securing nut on the front. For a thick book or a layered wood clock, you will need a "long shaft" mechanism.
-
Movement Type: There are two main types. Step movement is the traditional kind that creates an audible "tick-tock" sound with each passing second. Silent Sweep movement (or continuous sweep) has a second hand that moves in one smooth, silent motion. For bedrooms or quiet offices, a silent sweep is highly recommended.
-
Hand Style: Clock hands come in countless styles, from simple modern sticks to ornate, traditional designs. Choose a style that complements your clock's theme and ensure they are not too heavy for the motor.
Part B: The Step-by-Step Assembly Process
-
Prepare Your Clock Face: This is the creative part! Cut, paint, build, or pour your base. Ensure it's completely dry and, if necessary, sealed with a varnish or topcoat before you proceed.
-
Find the Exact Center: For a perfect circle, draw two lines across the diameter; where they intersect is the center. For a square, draw lines from corner to corner. For irregular shapes like a wood slice, you may need to balance it on a point to find its center of gravity. Mark this spot carefully.
-
Drill the Center Hole: Your clock mechanism kit will specify the required hole diameter. Use a drill bit of that exact size. Drill from the front to the back to minimize tearing or splintering on the visible face.
-
Install the Mechanism: Insert the mechanism’s shaft through the hole from the back. If included, place the rubber washer between the motor and the back of your clock face. On the front, place the metal washer over the shaft and screw on the hex nut until it's snug. Don't overtighten.
-
Position Your Markers: Before adding the hands, place your numbers or markers. Use a protractor for perfect placement (each hour is 30 degrees apart). Lightly pencil in their positions before gluing them down permanently.
-
Attach the Hands: This is the most delicate step. Press the hour hand on first, pointing it at 12. Then, press the minute hand on, also pointing at 12. Finally, add the second hand (if you have one). Ensure there is a small gap between each hand so they don't catch on each other.
-
Set the Time & Power Up: Do NOT use the hands themselves to set the time. Use the small dial on the back of the motor to rotate the hands to the correct time. Insert a battery, and watch your creation come to life!
Crafting a DIY wall clock is a journey that ends in a beautiful, functional piece of art for your home. It’s a project that captures the same passion for detail, patience, and personalization that we celebrate here at the Book Nook Store. It’s not just about telling time; it’s about making time for creativity.
Related Posts
Advanced techniques to enhance the realism of a Book Nook Kit

What is a book nook kit?

4 mistakes to avoid when creating a Book Nook
Tips for Using Your Book Nook as a Focal Point in Your Living Space

What glues to use for a book nook or other wooden miniature

Gift ideas for DIY enthusiasts